How to do an oil change on your car?
2022-08-24
Even seemingly easy tasks like changing the oil can feel overwhelming, if not outright unattainable when it comes to maintenance. However, compared to visiting a nearby service, changing your oil by yourself might be more practical and less expensive. In the blog that follows, we'll demonstrate how to do it properly, safely, and economically.
First and foremost, I would like to outline the general tools needed for most cars to perform an oil change:
- Car Jack
- Industrial Gloves
- Jack Stands
- Wrench Set
- Oil Pan
Now that you’ve gathered the required tools, let’s get started with the oil change!
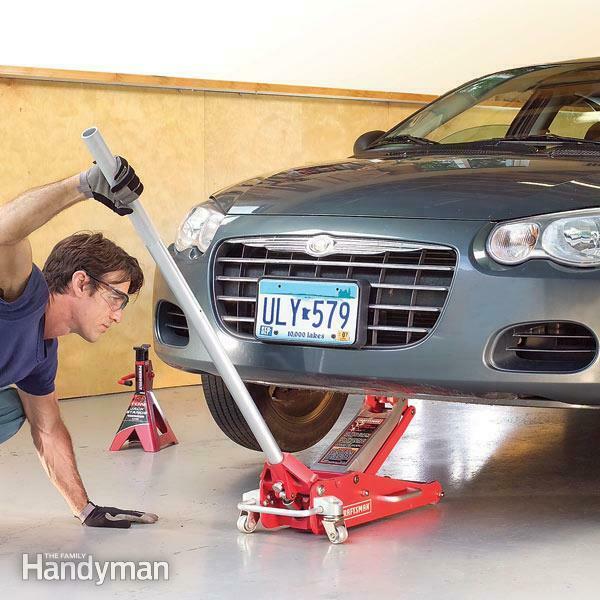
Step 1: Getting the car Jacked
On every car, there are jacking points which is where you will place the jack stands under the car once it’s raised so you can safely work under the car. Once they are located, choose then a central point on the body frame to raise the car to place the front and rear jack stands in the correct jacking points. This is very important as the entire car’s weight will be placed on the jack stands, and if done incorrectly you could damage your car and in a worst-case scenario, the car could roll on you. Since this is such an important part of the procedure, please ensure that you have located the correct points for your car on where to place your jack stands and ensure the car is stable before going underneath for any work.
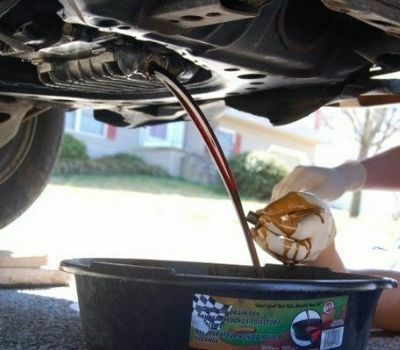
Step 2: Drain the old oil
In the next step, once you can see the underneath of the car, there will be a drain plug that differs slightly in the location from car to car which you will need to locate to drain the oil. Once the oil drain plug is located, place your oil pan underneath it to store the oil, make sure to wear your industrial gloves as this usually gets messy, and using the correct wrench size for your oil drain plug, remove the drain plug by loosening it counterclockwise. Allow the engine to drain for 5 minutes or so until the flow of the oil has slowed to a trickle. Since you are already changing the oil, you might as well change the oil filter. It is the softball-sized cylindrical part that is fastened to the engine via screws (though some engines have housing that you slip a filter cartridge into). You can release the oil filter (turn it counterclockwise) with your hand or an oil-filter wrench, but you'll probably need the latter to get the oil to start dripping into your container. Wait for the flow to stop before completing the filter removal. Make sure the old oil-filter gasket, which is an extremely thin rubber O-ring, wasn't left behind before putting in your new filter.
Step 3: Plug in the drain plug and put in the new filter
Replace the drain plug, snugly but not over-tighten it: The oil pan and drain plug may be harmed by overtightening. Tighten it slightly, but don't use all of your strength. You can use a torque wrench to adhere to the torque specifications provided by some manufacturers. In any case, avoid attempting to remove the drain plug's head. When you reinstall the plug, you may need to change a washer that is used in some vehicles (see your owner's manual to find out if this washer has to be replaced). Next, take your new oil filter and lightly cover the rubber gasket around the top of the filter with oil (using a dab on the tip of your finger). As you tighten the filter, this will assist in making a good seal. Apply the same principle while screwing in the filter: Don't turn it too hard; instead, turn it until it's "hand tight" and then just a little more, so it's snug.
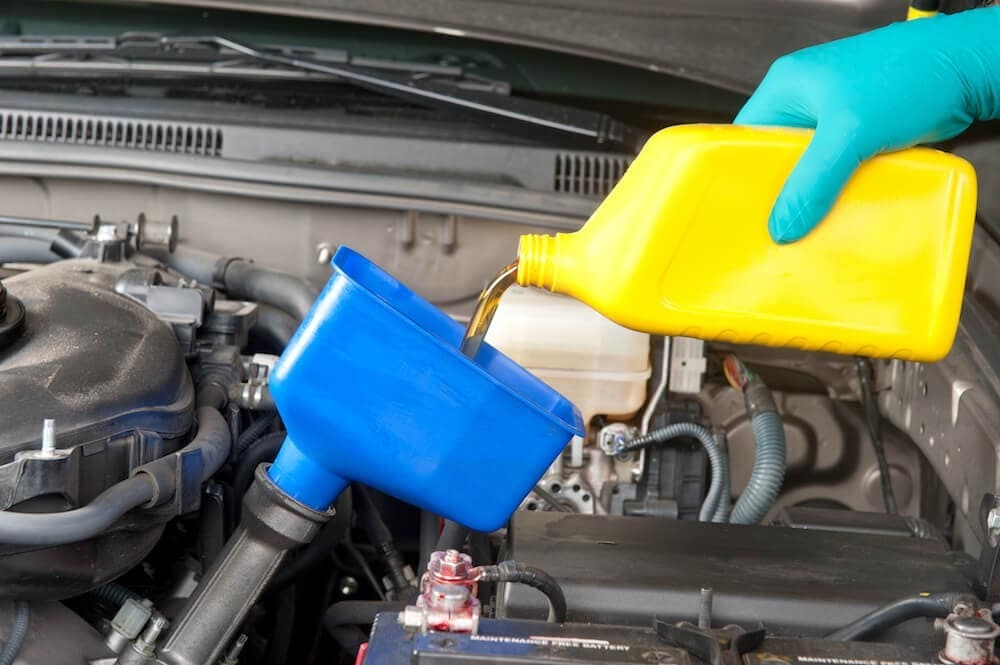
Step 4: Fill it back up with oil
Once your drain plug and new filter have been reinstalled, lower your car back to the ground. Remove the oil cap, which ought to have an oil-can symbol on it, by opening the hood. Fill the engine with the amount of oil recommended by the manufacturer using a funnel.
Step 5: Finale
Finally, use the dipstick to check that your oil is at the correct level after allowing a few minutes for the oil to settle into the pan. Oil inspection is easy: Pull the dipstick out of the tube, wipe out all of the oil using a paper towel, then re-insert it. Once it is out, check to see that the oil has reached the full marking on the dipstick's tip. Start the car, let it warm up and idle, and then look under and around the oil filter for leaks.
Here at SBI Motor Japan, we want all our customers to have the best possible car experience possible. If it happens to be in your country that you are unable to get your car serviced for an affordable fee, we want to be able to help you do it yourself so you can have the possible car experience.
To check our latest inventories of JDM cars please click here!